I previously posted about vyonyx. They are now hosting their free image content at this site:
http://www.gobotree.com/
There is also some content over at Accustudio:
Backdrops – Backdrops
What Revit Wants

I previously posted about vyonyx. They are now hosting their free image content at this site:
http://www.gobotree.com/
There is also some content over at Accustudio:
Backdrops – Backdrops
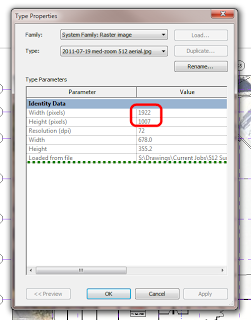
Once you have imported an image into Revit and then warped it (by unticking the Lock Proportions box and resizing it), then it is not immediately evident how you can reset it to 1:1 (its default X:Y state). Even if you toggle the tick box, it doesn’t reset the scale to be un-warped.
Here is how you can do it:
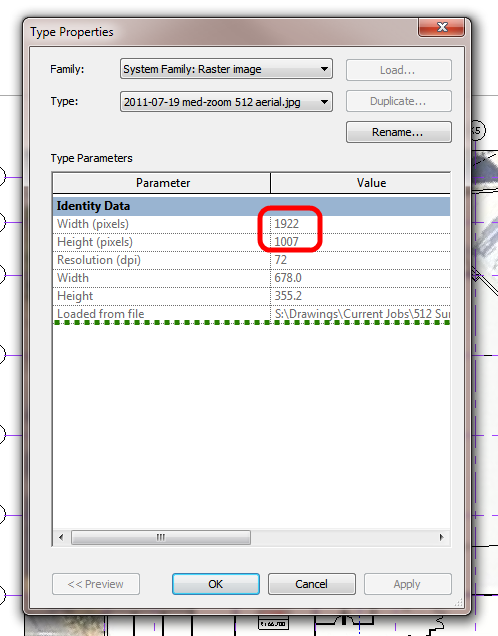
Also, did you notice that Revit records where the image was originally loaded from? Even though there is no ‘link’ as such, this does allow you to find and edit the source image easily.
Some of you may be surprised to know that Windows Photo Viewer and Office Picture Manager are not the only ways to view and edit image files 🙂 Here are three of my favourites:
1) Irfanview has been updated to version 4.35. You can download from CNET here. This is a superfast image viewing and editing program. I love it for its highly adjustable batch image processing ability.
You can download all the current plugins from here. This includes a new plugin that will allow Irfanview to open DXF files, as per this list. The DXF plugin is provided by BabaCAD – they also provide free CAD software for download at http://www.babacad.com/index.html

2) Paint.NET – quick and easy
3) Photoshop – awesome filters and effects, and great at enhancing still photos of your buildings
4) GIMP – Andy Milburn reminded me about this in the comments. I haven’t used it for a long while, but it is essentially a free replacement for Photoshop.
5) pixlr – another great tip from the comments. RicardoCC referred me to this online image editor that was actually purchased by Autodesk. Have you tried it yet?
EDIT: The free content at vyonyx has been moved to http://www.gobotree.com/
Are you getting tired of using the same RPC people and trees in all your Revit renders? Maybe you should try adding some of these free trees and people in your render post-editing program (such as Photoshop):

From their Disclaimer: All the contents in our download section are absolutely free of any charge and there is no limitation on their personal or commercial use! …
Along similar lines, I previously posted about Immediate Entourage here.
vyonyx also host:
Textures | VYONYX
and
References | VYONYX (think water, grass, backgrounds etc)
Looks like the BIM (model) of the Earth is going to be built by computers, not people:
Google is using a new technology to automatically generate 3D buildings from 45-degree angle aerial photography made by overlapping passes of aircraft. Each airplane has five cameras: four that point at 45 degrees, and one that points down.
Read more at:
Here’s why Google got rid of SketchUp – WorldCAD Access
You can now filter Google Image Search to just show you SVG files. Here is an example search:
“Nintendo” SVG files
See Only Resize-Friendly Scalable Vector Graphics (SVG) In Google Images | Lifehacker Australia
So what is so good about SVG? From the wiki page:
Scalable Vector Graphics (SVG) is a family of specifications of an XML-based file format for describing two-dimensional vector graphics, both static and dynamic (i.e. interactive or animated).
The SVG specification is an open standard that has been under development by the World Wide Web Consortium (W3C) since 1999.
SVG images and their behaviors are defined in XML text files. This means that they can be searched, indexed, scripted and, if required, compressed. Since they are XML files, SVG images can be created and edited with any text editor, but drawing programs are also available that support SVG file formats.

Let’s say you have imported an image of an existing floor plan into a Revit view, but it doesn’t quite look right. When you scale the image, it appears to be warped in either the ‘X’ or ‘Y’ direction.
What do you see in the ‘Options’ bar? Untick the box ‘Lock Proportions’ and you can correct the warped image by resizing with the blue grips!
While you’re at it, if you want the ‘Options’ bar to appear at the bottom of your screen, right click on the ‘Options’ bar and select ‘Dock at Bottom’.
So, you try and print a view with an image in it, and Revit 2010 just decides to crash…and you can’t figure it out!
Well, Revit wants you to choose ‘Raster’ instead of ‘Vector’ under the ‘Print’ dialog – ‘Setup’ button…
There you go, no more crashing!
I have reported this to Autodesk (see below 😉
| Summary: | Printing ‘linked view’ with image – crashes |
| Description: | When printing a host view with a linked RVT view that contains a high res image.
The same problem occurs if printing the drawing from the linked file (the image seems to crash revit). However, changing the print type to ‘raster’ solves the problem. Revit should realise that ‘vector’ is going to crash, and switch to ‘raster’ automatically. Please correct this problem as it is irritating. |
So, someone has inserted images into your file, and you can’t save them out!
Sure, you can go to File – Raster Images, but that doesn’t really help.
Try this:
The answer is simply to ‘export’ the view to DWG, and Revit will make the images you need.
For a nice, clean, step by step:
1. Make a new drafting view.
2. Select the image / images you want to ‘save out’
3. Copy to Clipboard
4. Paste them into the Drafting View
5. Export to DWG
6. Have a look at the folder that you exported to – there are your images!