BIM One have released a new automatic color filter addin for Revit. It is very simple to use, and its free:

  1. Install the addin using the install tool (refer here for steps on using the addin manager)
  2. Open a Revit project
  3. Go to BIM One ribbon
  4. Click on Color Splasher
  5. Click on a Category
  6. Click on a Parameter
  7. A color set is automatically generated
  8. Click on Apply color set

If we check the element VG, we can see that this addin basically runs through and applies a By Element override to each element in the view:

Note: a nice added bonus to the above functionality is that if you open Color Splasher and click “Clear Set”, every Element visibility override in the current view will be removed. Might be handy for QA and model management?

They have also provided a Element GUID tool. It works like the Select by ID tool in Revit, but instead of using the Element ID, it works on the GUID parameter inherent in all Revit elements:

I previously posted about the BIM One NWC Batch Exporter here:
NWC Batch Export from Revit – multiple Revit views to multiple NWCs with one click

via
http://us8.campaign-archive2.com/?u=f58c55b9516e3ecd984b6ff84&id=95df102b3a&e=3729ed9af6

This is one of the most exciting new addins to appear for visualizing your Revit model. It is simple to use, powerful and intuitive, and I recommend you try it out.

Go ahead and click here to Download it now

Use coupon code whatrevitwants to receive 30% off

EDIT added video by Greg Demchak:
 

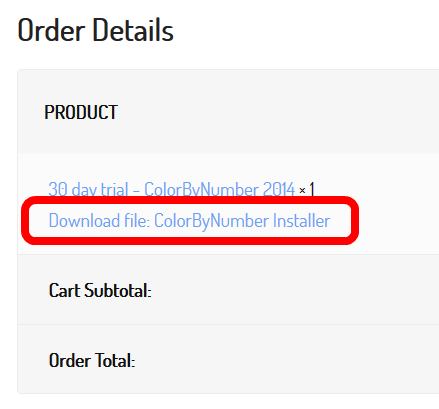
Follow these steps after clicking the above link:
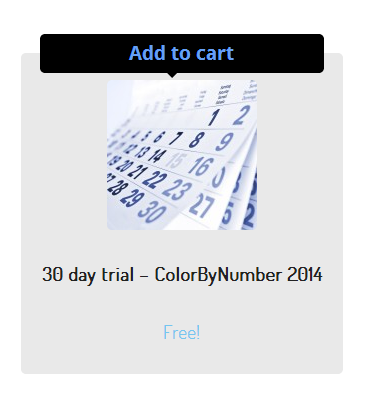
1) Scroll down to ColorByNumber trial and add to cart
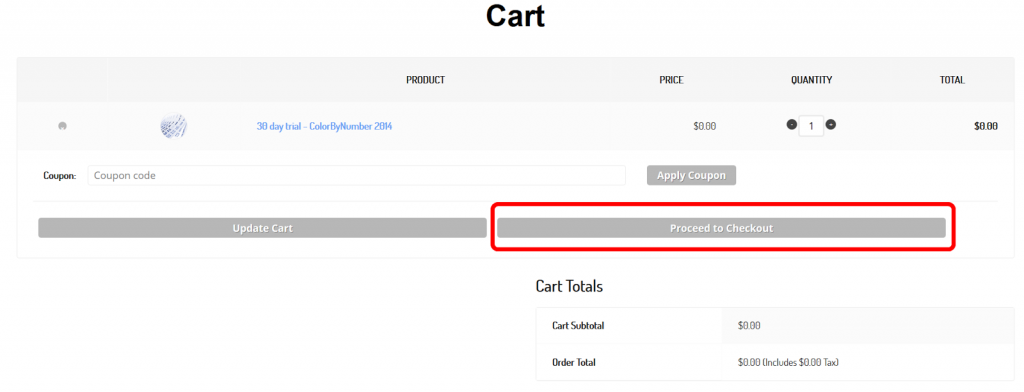
 
2) Checkout

 3) Place Order

 4) Download file

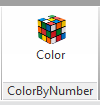
5) Install the file and open Revit

6) Click on the Color button on the Addins ribbon

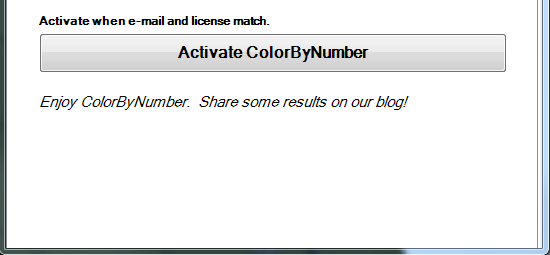
7) Put in your email and the license key that you were emailed during checkout process

Here is a quick how-to on using it:

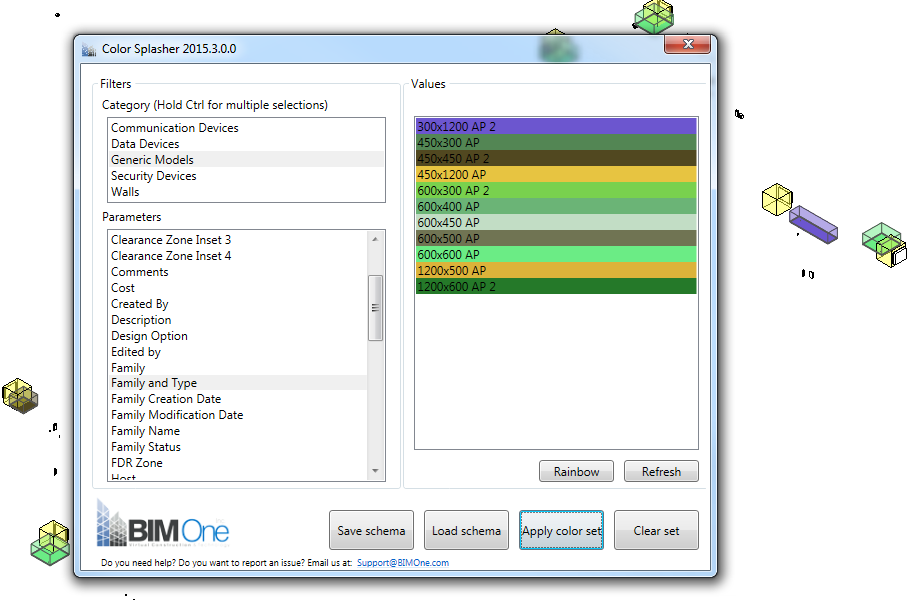
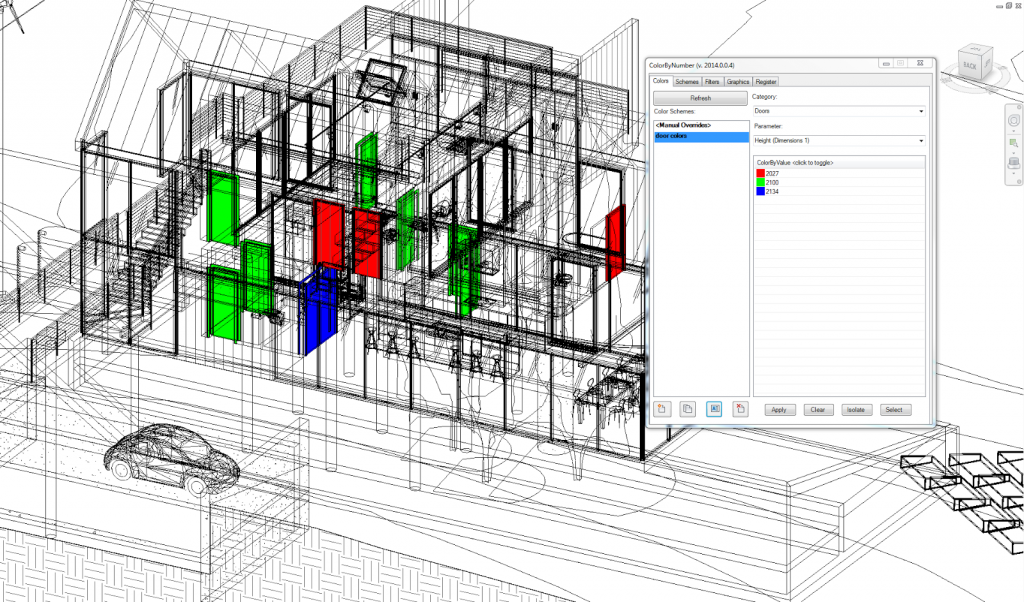
  1. Open a 3D View and open ColorByNumber
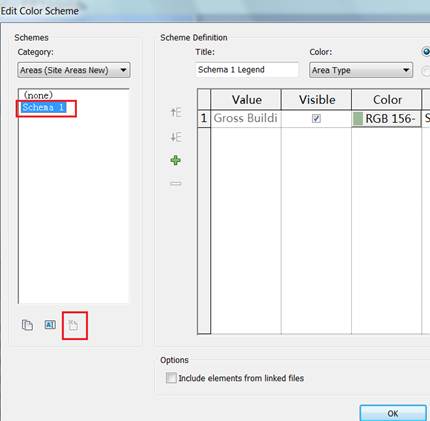
  2. Switch to the Colors tab and click on the New icon. This will make a new Colour Scheme. 
  3. Give the new scheme a name.
  4. Select a Category and a Parameter
  5. A list of all available values in the project will appear, with some preset colours
  6. Click Apply

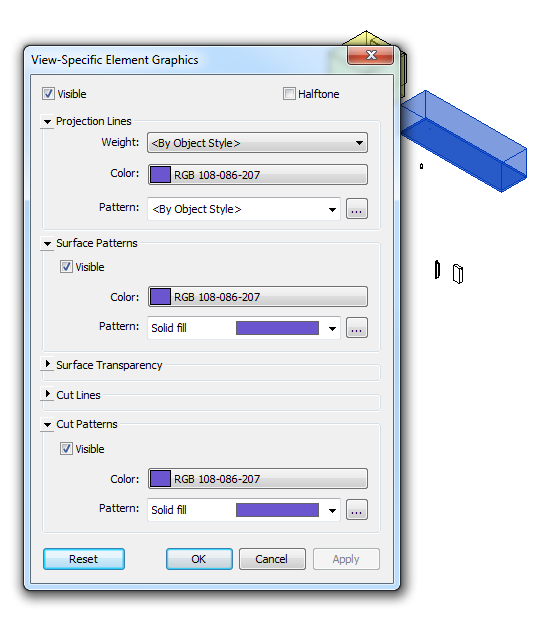
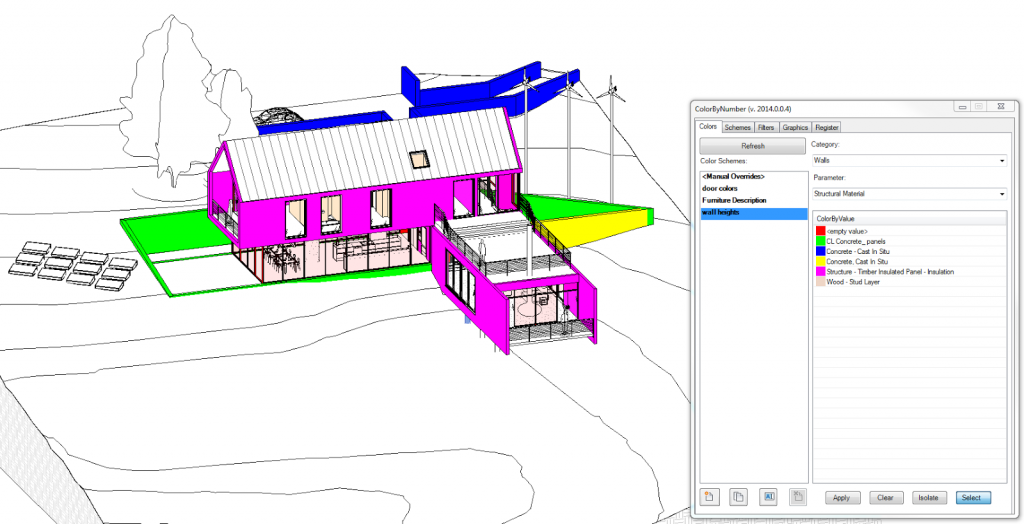
These colours are now applied to your view. The colours will be visible in all display modes in 2014: Wireframe, Hidden Line, Shaded, Consistent Colors, Realistic and even Raytrace. Its easy, functional and overall very impressive…

Switching to the Schemes tab will now show this new scheme as an option. If we switch to a completely different Revit project, we can instantly re-use this scheme in the other project. We don’t have to transfer the scheme or anything.

Just when you were thinking how great this all is, there is a humble little button at the bottom of the main ColorByNumber dialog – Isolate. This will isolate the coloured objects, making it very easy to navigation and view your Revit model based on Category, Parameters and values.

Let’s try another example: colour all Walls by their Structural Material. In about 8 clicks, it is done.

So, who is Greg Demchak, you may be wondering? Well, he was this guy:

so you can see why he knows a thing or two about Revit and UI design 🙂

Some dot points:

  • A schedule is a good tabular view of the model data… With ColorByNumber, we make accessing information easy and visual, which can lead you to new insights on your model
  • quickly select and isolate elements by their parameter values–something you can’t do with Revit out of the box. 
  • user research found that ColorByNumber is on the order of 100 times faster than using built-in Revit tools that accomplish similar results.

Some other links:
How to Use ColorByNumber with Revit | BIMrayBIMray

What’s Next? | BIMrayBIMray

ColorByNumber “free 30 day trial” version now supports multiple users. | BIMrayBIMray

Helping search: this post is about Color By Number, otherwise known as ColorByNumber 

    I previously posted about how to get the average RGB colour of a sample and put it into Revit.   Revit Learning Club Blog today shows a nice, simple way to obtain the RGB values of any color on your screen (under the mouse cursor):

    Someone has shared a very nice color picker utility called Colorette, which was written in AutoHotKey. The app description is at http://www.autohotkey.com/forum/topic69559.html and the EXE itself is http://www.autohotkey.net/~sumon/apps/colorette/Colorette.exe .


    For an example of how to use Colorette with Revit, save the EXE to your Desktop and run it. Find a web page with the color you want to find, like http://www.jameshardie.com/homeowner/colorplus-palette.shtml , hover your mouse over the color on the screen and press Space on your keyboard.

    via
    Revit Learning Club Blog: How to Get a Color From Your Screen into a Revit Material

    The last color scheme of some area schemes were lost, therefore the color fill function for that area scheme was also lost in the model and the user is unable to assign it color schemes.

    Solution

    To restore a default color scheme for these problematic area schemes in the Revit Project follow these steps.
    1. Create a new Revit project (project1.rvt) with default template.
    2. In project1.rvt, open the Home > Room & Area > Area and Volume Computations dialog.
    3. On the Area Schemes tab, click the New button to create an area scheme and rename it to match the Area scheme name in the Revit project containing the missing color schemes.
    4. Click OK to exit the dialog.
    5. Switch to the original Revit project file and go to Manage > Transfer Project Standards.
    6. In the dialog, choose Copy from: Project1.
    7. Click the Check None button and select Color Fill Schemes.
    8. Click OK.

    via
    Autodesk – Autodesk Revit Architecture Services & Support – Area schemes have lost their color schemes

    In Revit, we often have to input RGB values for various color properties, such as shaded view colors for a particular material, or if you want a specific Paint color for a rendered material.  To do this, you can use Paint.NET and the Color Picker tool – the resultant properties include the RGB values you need.

    However, you may obtain a sample image of a material, but the color is irregular.  For example, you scan in a paint sample and there is a color variation in the scanned image.  Or perhaps you simply want to take a detailed pattern sample image and find out the average color of a particular part of that image.

    Here’s how you do it:

    1. Download Paint.NET
    2. Download Average Color plugin
    3. Copy the DLL file from the extracted Average Color ZIP you downloaded into the ‘Effects’ folder, which is in you Paint.NET installation directory (for example: C:Program FilesPaint.NETEffects)
    4. Open Paint.NET
    5. Open the image you want to find an average color from.
    6. Make a rectangular selection.
    7. Click on the Effects menu – Average Color
    8. Now click on the Color Picker tool (looks like an Eyedropper)
    9. On the ‘Colors’ palette, click the More>> button
    10. The RGB values for your selected color are shown.
    11. In Revit, input those RGB values for the desired color or material

    Average Color of Selection forum thread
    Plugin to Average Color of Selection – Paint.NET Forum
    Primary post
    Main post

    If you have just installed a fresh version of Revit, you may have noticed that you have lost your Custom Colors.  There are 16 ‘slots’ available for Custom Colors in the Revit Color Palette.

    To transfer the colors from one installation to another, just copy the [Colors] subsection from the Revit.ini file from the old installation location to the new one.  For example, if you previously had Revit installed on drive Y: in Vista, and you now have a new installation on drive C: with a new OS, do this:

    1. Close Revit.
    2. Open Revit.ini from “Y:Program FilesAutodeskRevit Architecture 2011ProgramRevit.ini
    3. Open Revit.ini from “C:Program FilesAutodeskRevit Architecture 2011ProgramRevit.ini”
    4. Copy the [Colors] section from the older / original Revit.ini to the new, fresh  Revit.ini
    5. Save and close the file.

    Here is some other information about the [Colors] section –
    The first three entries in the [Colors] section defines the user interface colors from the Options dialog, Graphics tab:

    A default installation will look something like this under [Colors]:
    HiliteColor=16741179
    PreHiliteColor=8729206
    ErrorColor=33023
    CustomColor1=e2e2e2
    CustomColor2=0000ff
    CustomColor3=00ffff
    CustomColor4=00ff00
    CustomColor5=ffff00
    CustomColor6=ff0000
    CustomColor7=ff00ff
    CustomColor8=ffffff
    CustomColor9=ffffff
    CustomColor10=ffffff
    CustomColor11=ffffff
    CustomColor12=ffffff
    CustomColor13=ffffff
    CustomColor14=ffffff
    CustomColor15=ffffff
    CustomColor16=ffffff