If you have moved your project onto BIM 360 Docs, it might make sense to store related project resources (Shared Parameter files and Classification resources like Uniformat) in the same cloud as well.


Here’s how you can do it (using Revit 2018.3):

  1. Setup the BIM 360 connector still currently in beta
  2. Ensure you can see the BIM 360 (Preview) item in Windows Explorer
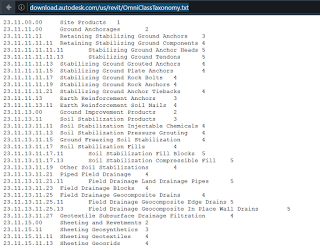
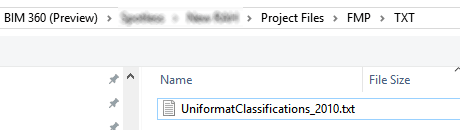
  3. Using BIM 360, create a suitable folder under the Project Files area, and upload your resource file, such as UniformatClassifications_2010.txt
  4. Browse to that folder in Windows Explorer:

  5. Open Revit
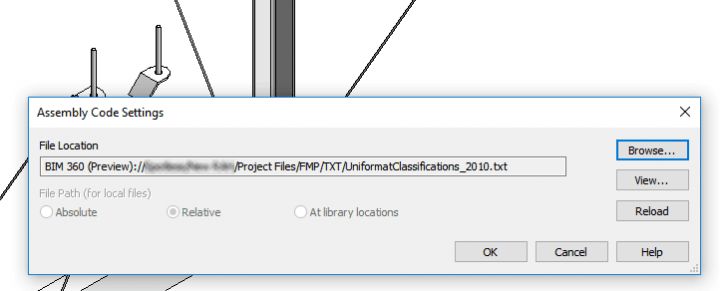
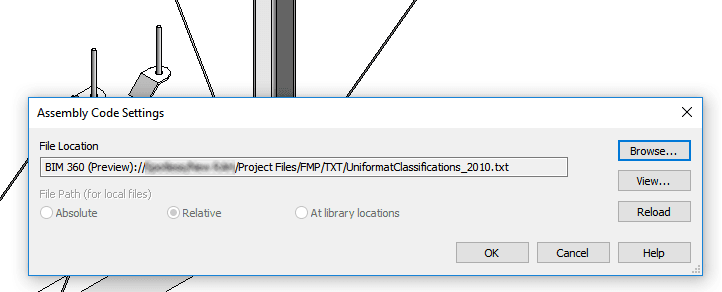
  6. Navigate to Manage – Additional Settings – Assembly Code Settings
  7. Click Browse
  8. Copy and Paste the folder address from Windows Explorer (which actually shows the local sync location for BIM 360 data, typically C:\Users\YourUserName\BIM 360\YourBIM360License\YourBIM360Project\Project Files\
  9. Back in Revit, after navigating to the correct BIM 360 folder, select the text file resource and click Open
  10. Revit detects that this resource is stored on BIM 360 Docs and you can proceed…
  11. Sync your model to save the settings

You should be able to use the same process to save other files like Keynote references and Shared Parameter files in the cloud. Keep in mind that you will still have to manage BIM 360 access control, as you probably don’t want multiple people actually be able to edit these files.

Assembly Code on BIM 360

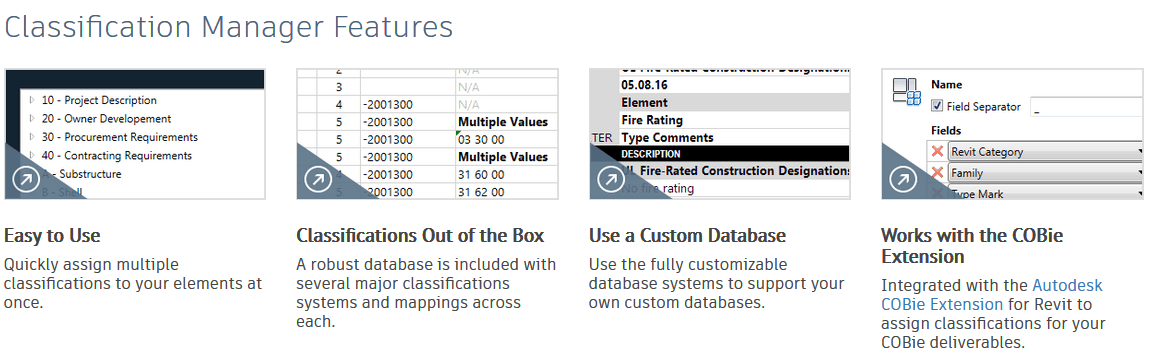
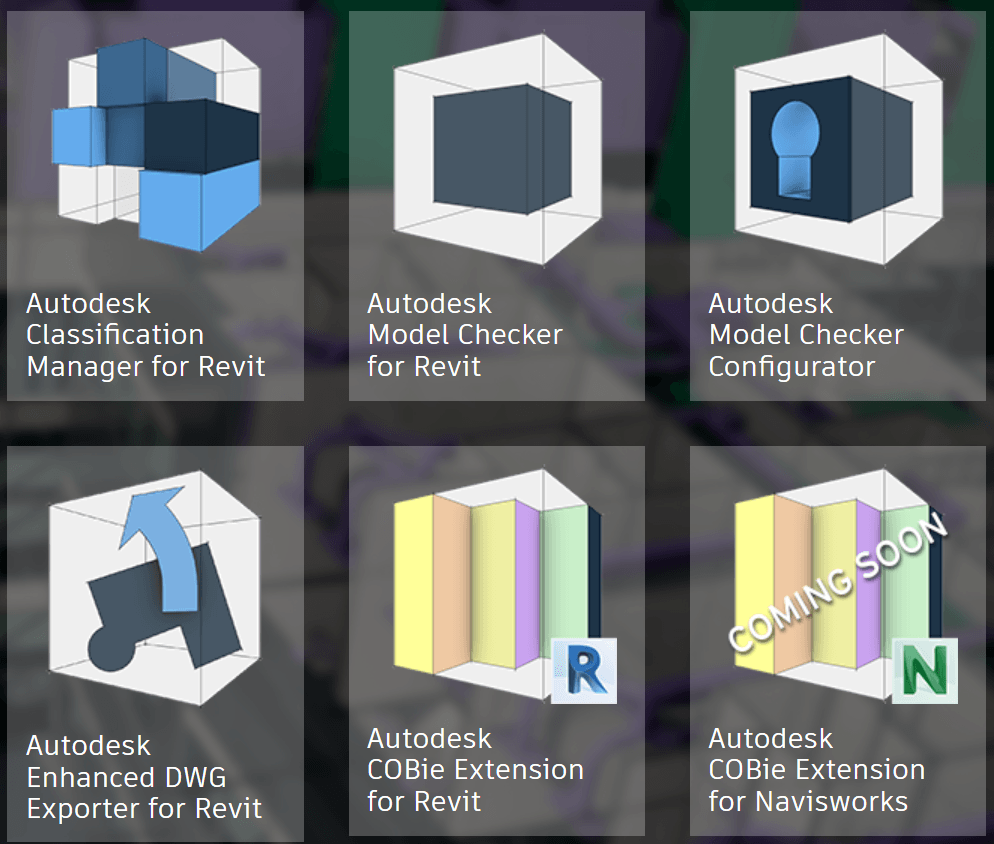
Don’t forget you can also get the free Autodesk Classification Manager for Revit here.


The tools have been updated for Revit 2019. I am providing some download links below for these tools:

  • Autodesk Classification Manager for Revit
  • Autodesk Model Checker for Revit
  • Autodesk Model Checker Configurator
  • Autodesk Enhanced DWG Exporter for Revit
  • Autodesk COBie Extension for Revit
  • Autodesk COBie Extension for Navisworks

Autodesk Classification Manager for Revit

The Classification Manager is free to download and use, just select your Revit version and get started.

Revit 2019

Revit 2018

Revit 2017

Revit 2016


Autodesk Model Checker for Revit

The Model Checker is free to download and use, just select your Revit version and get started.

Revit 2019

Revit 2018

Revit 2017

Revit 2016


Autodesk Model Checker Configurator

The Model Checker is free to download and use. Click here to download the installer.


Autodesk Enhanced DWG Exporter for Revit

The Enhanced DWG Exporter is free to download and use. This release includes localization for English, French, and German.

Revit 2018

English Installer  

Revit 2018

Deutsches Installations-Programm  

Revit 2018


Autodesk COBie Extension for Revit

The COBie Extension is free to download and use, just select your Revit version and get started.

Revit 2019

Revit 2018

Revit 2017

Revit 2016


Autodesk COBie Extension for Navisworks

This one is ‘coming soon’, so I will update the link once it is released


Autodesk main page for BIM Interoperability Tools here

Here’s how:

You would like to assign OmniClass numbers using the 2012 standards but are not able to because the default file shipped with Revit provides numbers from the previous standard.
Symptom: When trying to assign OmniClass 2012 numbers in the family editor the numbers supplied from the table are incorrect.
Issue: The OmniClassTaxonomy.txt file installed with Revit is an older version of the table. The file installed with Revit needs to be replaced with the updated OmniClassTaxonomy.txt file which can be downloaded here.
Solution: Download the attached file and follow the procedure to update the file in the Revit installation.
Note: The AppData folder is a hidden folder, so you need to first enable the viewing of the hidden folders on your system before performing the procedure.
  1. Navigate to C:Users\AppDataRoamingAutodeskREVIT Example: “C:Users\AppDataRoamingAutodeskREVITAutodesk Revit 2015”.
  2. Rename existing “OmniClassTaxonomy.txt” to “OmniClassTaxonomy_bak.txt”.
  3. Copy the downloaded file to this location. Repeat this processfor each user on this local machine.
  4. In addition, copy the file to the following location. This step ensures that any new future users of this computer will get the updated file. C:ProgramDataAutodesk\UserDataCache Example: “C:ProgramDataAutodeskRVT 2015UserDataCache.
  5. Repeat process for each Revit product installed (RAC, RME, RST….) as needed.
Note: When using the updated OmniClass file, category sorting is not available. You must manually navigate to the correct category to assign an OmniClass number.

via
Update OmniClass Taxonomy File | Revit Products | Autodesk Knowledge Network

Heads-up from Eric Koehne via email

omniclass2012.png