
You need to save as PNG – but not any old PNG will work.
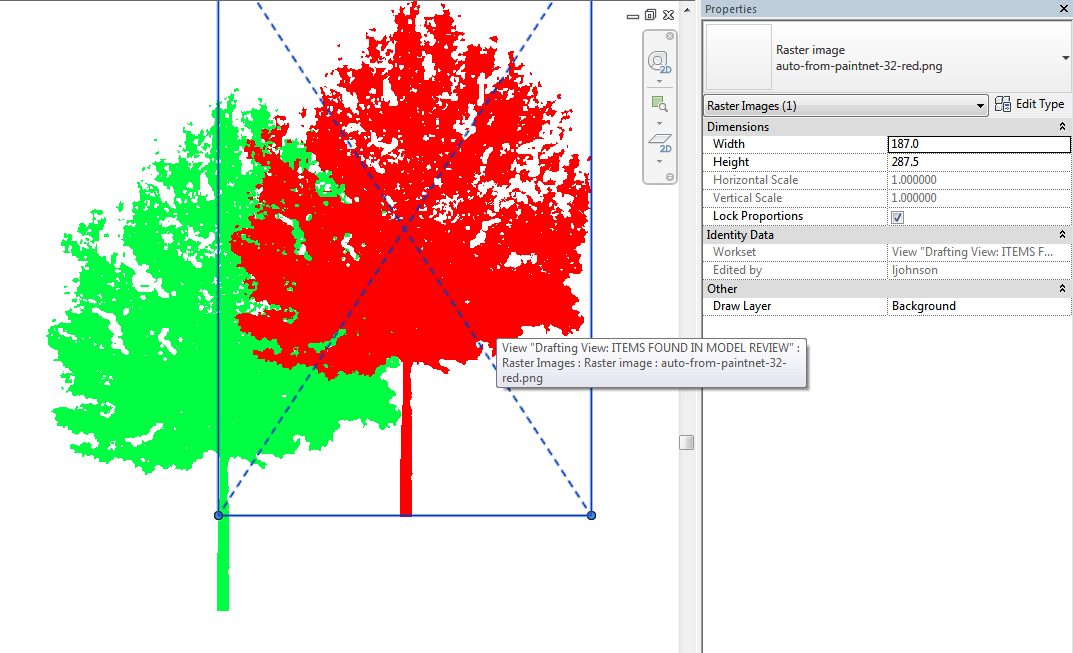
I have consistent success using Paint.NET, deleting the “background” so it is empty (checkerboard), then saving as a PNG. But here’s the main lesson – make sure you tick 32-bit. No other option seems to work, only 32-bit PNGs seem to respect transparency in Revit.
You can even use Bring to Front, Send to Back etc to overlap these images. Quite useful for Entourage in coloured Plans and Elevations…


Thank-you for the information. 24bit will also work. However, I cannot get this trick to work with Decals though. We must be able to place our images on our walls like a mural and be able to see them in our model, not just our views. Have you heard of any tricks for this?
Thank-you for the information. It will work with 24bit as well. I have yet to figure out a way to have the transparent alpha channel show up in decals though. It is imperative we show our murals throughout the model and not just the single sheet or view. Do you know of a way around that?
It will be perfect if you show us how to fo the (deleting the "background" ) Part with Paint.NE
Use the Magic Wand to select everything "white" and then click delete.