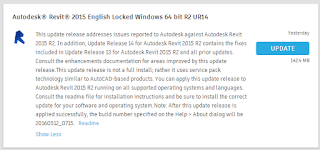
Big day yesterday in Revitupdates, particularly with Revit2017Update1 bringing some really cool enhancements, andthe Dynamo Player! Here are some linksand other information:
Dynamo Player
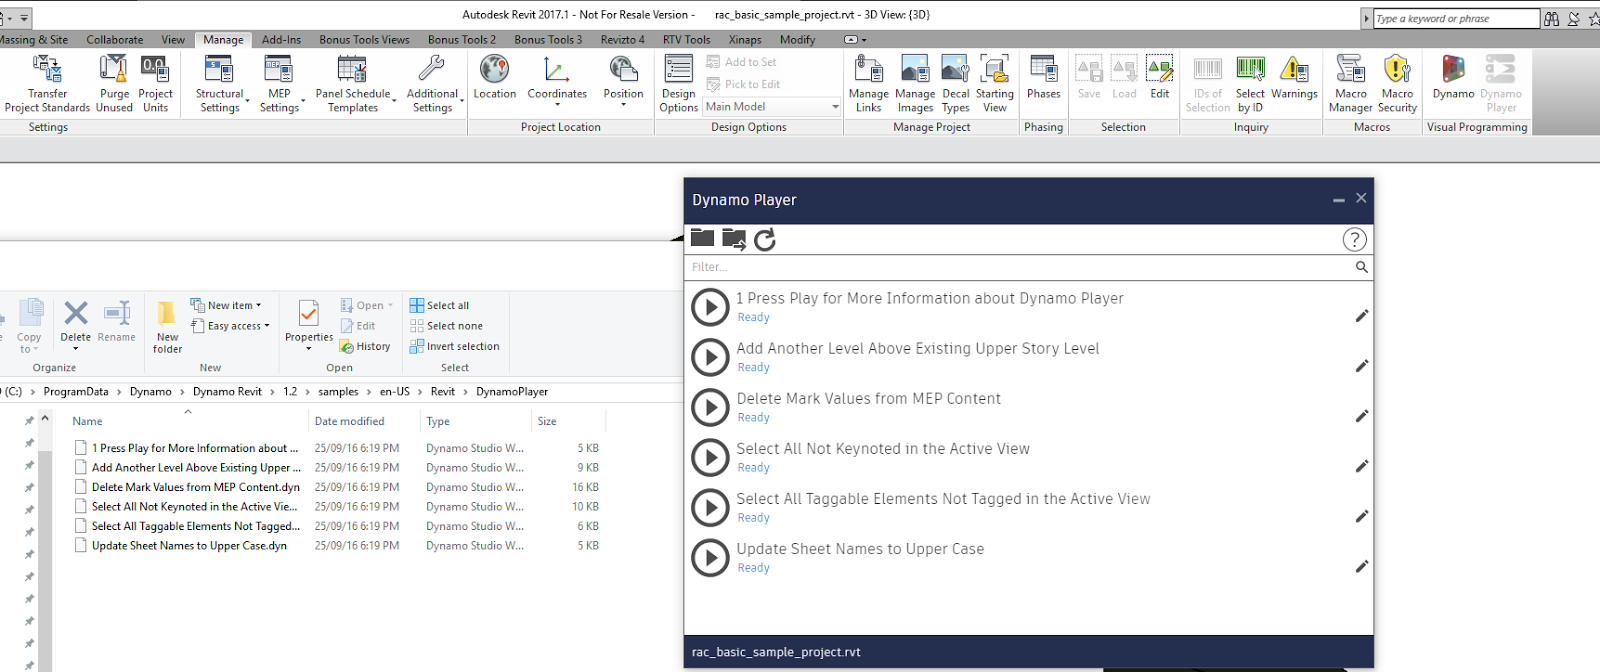
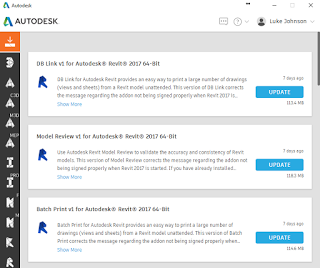
People have been asking for a way to run their scripts more easily and transparently, and now you can. Simply install Revit2017Update1, ensure you have Dynamo installed, and you will have a new option on your Ribbon…
It comes preconfigured to point at a samples folder:
You can point this at your own “Player” folder containing DYNs.
Press Play button to Run, and Edit button to open the DYN in Dynamo.
It remains to be seen how inputs will be handled?
Pick Objects and Dynamo Player
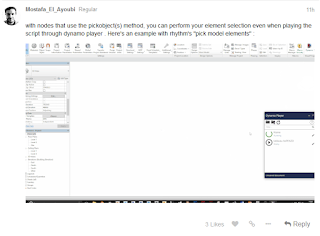
Interesting thoughts over on theforum, about how if you use a DYN with a Select Node, it will still ‘work’ — this opens up some great possibilities!
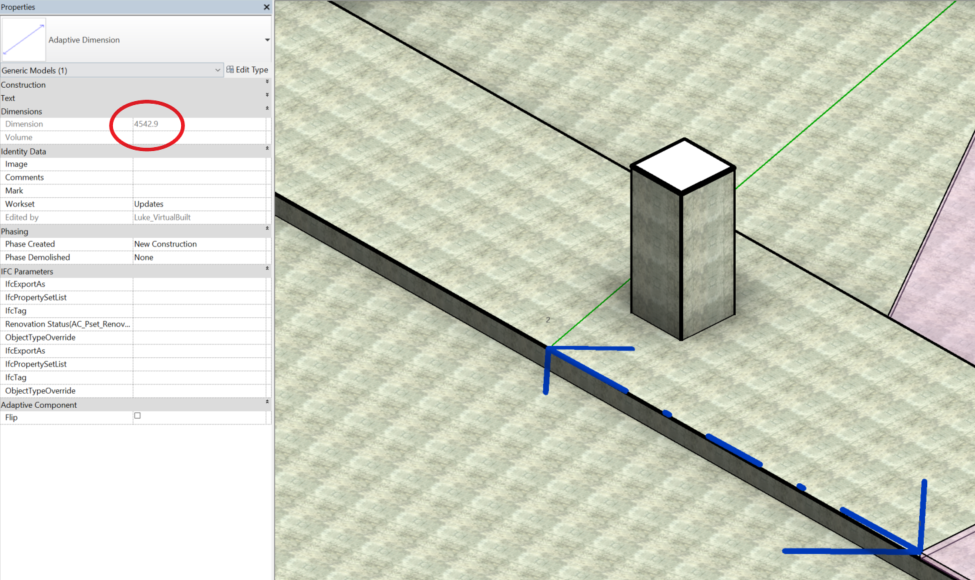
When working in 3D in Revit, you *can* use the normal dimension tool *if* you first set the Workplane. However, this can get annoying. Why not make a 2 point adaptive family, with a reporting parameter, so that you can just place the family (two clicks) and then check the instance parameter as shown below?
Update: V2 with arrowhead and tag in projectDownload here
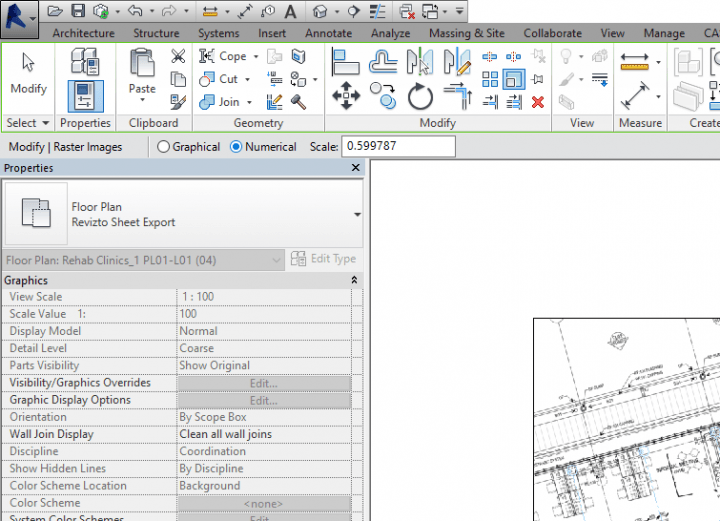
If you have just scaled an object (such as a Raster Image) at a certain scale, did you know you can re-use that previous scaling method very quickly on other objects?
Simply:
Scale one element
Select the next element
Switch to “Numerical” in the Options bar
The previous scaling method is already here
Click on the desired basepoint (origin) on the element
Ok, Parts are pretty cool, particularly when working with Linked Files. But there is a strange behaviour in Revit that exists between the Parts Visibility setting of a View, and the Parts category Visibility / Graphics.
Here’s what I’m talking about:
In a 3D view, with a Linked Revit file, make some Parts from the linked elements. You could use something like this in Dynamo.
Now, switch the Parts Visibility of the view to Show Parts. Revit is now hiding the linked elements you made the parts from originally, and showing you the parts in the host model.
Let’s say you want to verify that the linked elements are really hidden… ok, let’s go into V/G and turn off Parts… drumroll please…
Revit decides that this means you want the Parts Visibility setting of the view to be turned back to Show Original, and so it goes ahead and does that. Um, thanks, I guess? In essence, the Parts V/G is linked to the Parts Visibility switch for the view.
So, what is the workaround?
Just make a filter for the Parts category, and turn that off:
Using this Filter, Revit does not switch the autopilot on, meaning you can have Show Parts turned on for the view, with the actual Part elements switched off.
The annual Revit release schedule can become very tiring. Also challenging is the fact that you will probably not start running real, big, live Revit 2017 projects for around 6 months, so all of this new features noise will be a distant memory by then. However, it is good to be aware of the new abilities in the software, so that you can (possibly) stop using outdated workarounds and start using the software in the way Revit 2017 Wants.
By now, we should all be focusing on getting more useful data into our models. In accord with that aim, these are my top 3 new features: 1) Keynote Legends are better – Use Keynotes! When a keynote legend is set to By Sheet, Revit takes into account whether a keynote is visible in the view as a result of View Range settings, Design Option settings, or Depth Clipping/Far Clipping settings.
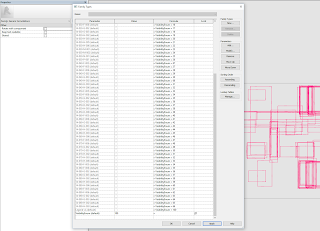
2) Combined parameters in Schedules – Use the Data you Have! Combine parameters in a schedule to display the values in a single cell. You can specify a prefix, suffix, sample value, and separator to display with each parameter. See Combine Parameters in a Schedule.
3) Schedule view templates – Templates are Good Revit View templates for schedules and assembly views: To simplify the reuse of schedules, create a schedule view template. Schedule view templates include parameters for Fields, Filter, Sorting/Grouping, Formatting, Appearance, and Phase Filter. If the model contains RVT links or design options, Visibility/Graphics Overrides parameters are also available. See About Schedule View Templates and Create Assembly Views and Sheets.
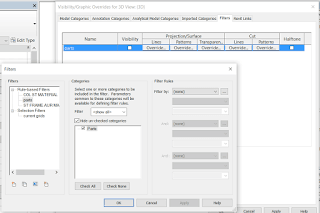
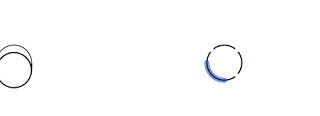
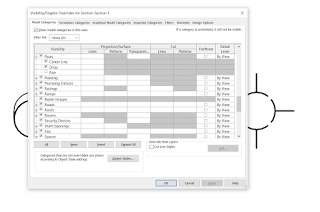
If you cut a sloping pipe in Revit, you can override the lineweight using Linework tool (or Visibility / Graphics) easily, because you are dealing with a model element. However, if you cut a ‘flat’ or horizontal pipe in a Section or Elevation, Revit assumes you want the nice system-related cut symbol for that Pipe and you can’t easily override the Cut Lineweight with a Linework tool.
What you need to do is turn off that default Symbol in Visibility / Graphics, and then you can successfully override the Cut representation.You may find that by turning off the Drop or Rise option, the symbol isn’t shown and the Linework tool will be active for the cut lines of flat pipes:
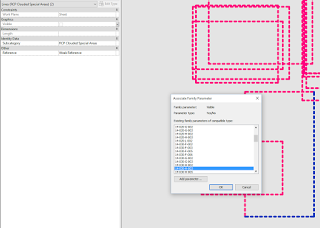
Using some Visibilityparameters and a simple formula structure, you can use a Revit familyto store a collection elementsand then selectively show them by usingasingle lookup value. This allows you todrivemanyvisibilitystates (programmatically) through the modification ofasingleinstance parametervalue.
In the case below, I created aAnnotation familyand multiple Yes/No visibilityparameters, which I applied to Lines:
Then, I make aVisibilityEnuminteger parameter, and set the Yes/No parameter formulas toa given integer:
You can also use Greater Thanand other operators to show items that are visible across multiple visibilitystates:
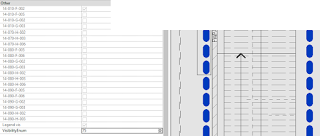
In the project environment, you only need to set one instance parameterto change visibilitystates:
Finally, with some inventive use of Excel and Dynamo, you can drive this visibilityparameter programmatically, even mapping the visibility state to the owner view of the familyinstance in Revit: