You may have experienced this error when upgrading a file to Revit 2018:

One or more required internal settings are missing from the model. What do you want to do?


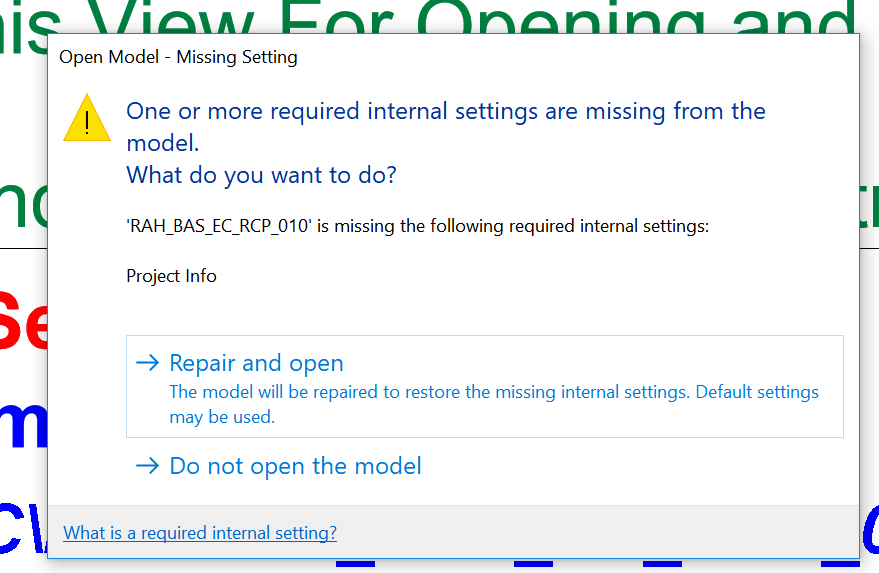
Autodesk Support has stated that “In R 2018 we added a “feature” that catches issues like this and repair the model for you, instead of causing problem down the line.”


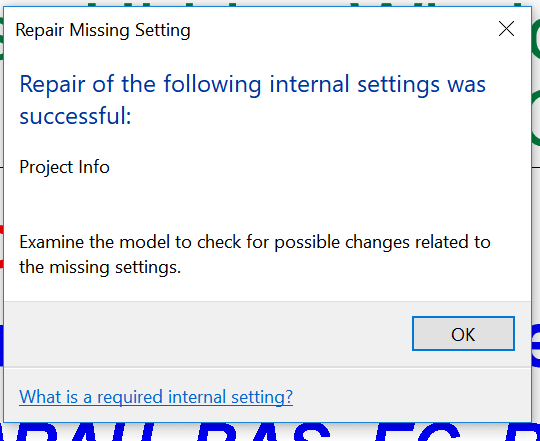
This particular dialog may not be handled by automatic upgrading tools. The resolution of the problem is to open the file manually, and simply press “Repair and open”. You should get a success message like below:

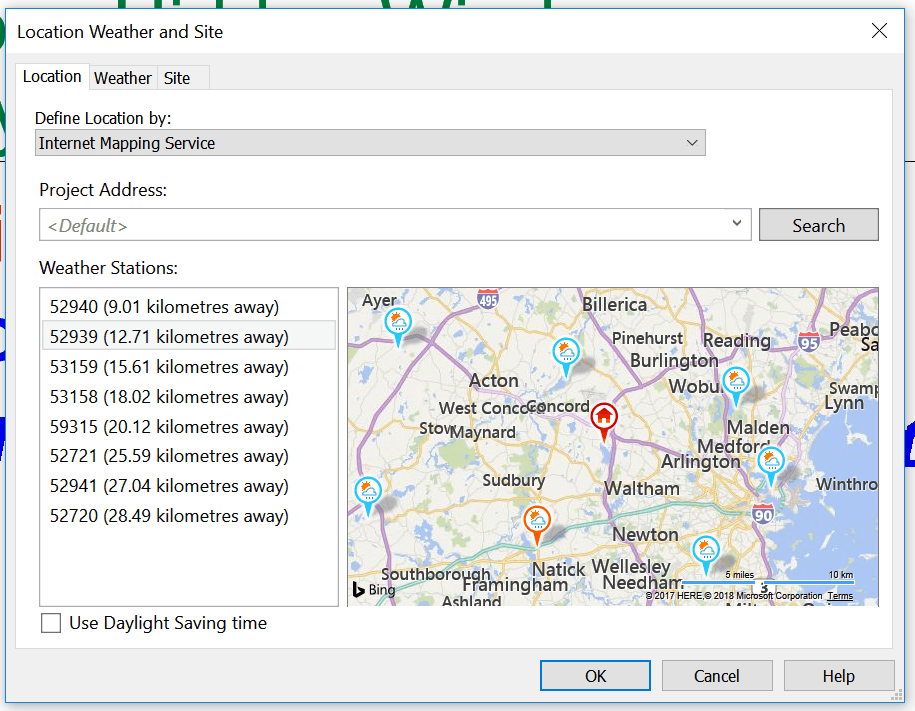
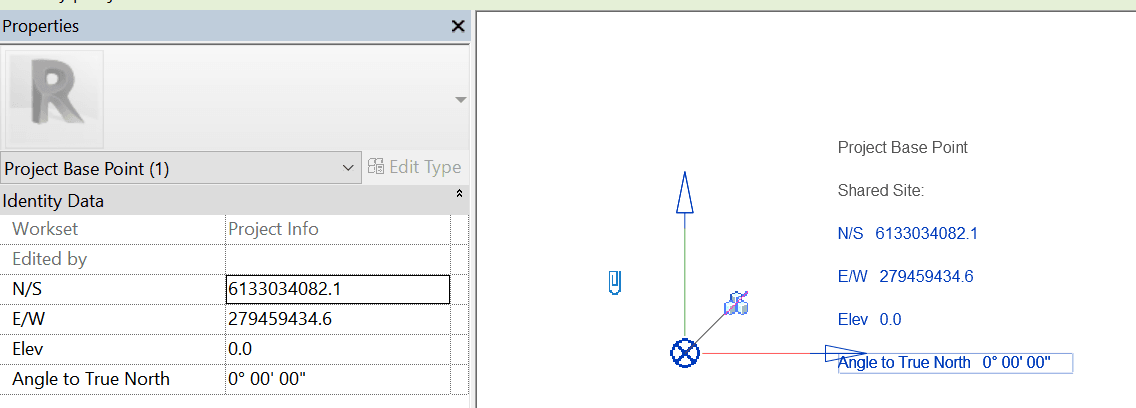
I assume there are other things that this Revit 2018 feature looks for and tries to fix. As Project Info includes a few different things in Revit, my guess for the above error is that it appears that it will set project Location to Default? Or perhaps it reinstates a deleted Project Base Point or Survey Point.

Either way, data and model validation is a good thing. Thanks Revit 2018 🙂


Update: RTV Xporter Pro can define rules for dismissing dialog boxes, in the Task Dialog Settings. See below:

I once built an auto-sizing Fire Pipe Fitting using a Formulaic method (where the various fitting sizes were driven by the Revit intersection variable), so I was interested to read about a similar strategy in a very good article in AUGIWorld January 2018 by Todd Shackelford.  It is really good to evaluate these different options before going ahead on a detailed Family development and creation task.

Among other things, Todd describes how to create a Type Catalog, including a list of the various data types:

He also describes how to use multiple Lookup Tables in a single Revit Family:


Overall, it is a very informative article for advanced Revit family creators.


Check out the full article online here:

page 36

Here is a list of the main Revizto Keyboard Shortcuts:

(Shortcut) – Action

(2) – 2D

(3) – 3D

(4) – Issue Tracker

(ctrl+O) – Open project gallery

(ctrl+shift+O) – Import project

(ctrl+R) – Rooms

(ctrl+X) – Section Cut

(ctrl+B) – Objects

(ctrl+I) – Issue Tracker

(ctrl+M) – Ruler

(Home or ctrl+H) – Home

(ctrl+T) – Create video track

(ctrl+E) – Sheets

(ctrl+shift+I) – Create a new issue

(ctrl+W) – Viewpoints

(M) – Opens a map

(ctrl+click) – multiple objects selection

(alt+click) – teleport

(+) – Increases a field of view

(-) – Decreases a field of view

(0) “zero” – Restores a default field of view

(tab) – hides the right vertical tool bar menu in the Issue Tracker, objects, rooms, viewpoints, camera share

(Esc) – Exit

Navigation modes:

(F5) – Sets navigation mode to Like in Video Game

(F6) – Sets navigation mode to Like in Revit

(F7) – Sets navigation mode to Like in SketchUp

(F8) – Sets navigation mode to Hybrid

(F9) – Sets navigation mode to Navisworks Walk

(R) – Toggles the Fly/Walk modes (if available)

Markup mode:

(P) – Pen

(Q) – Callout

(T) – Text

(L) – Line

(A) – Arrow

(E) – Ellipse

(shift+P) – Polyline

(R) – Rectangle

(space) or (V) – Edit Mode

From here
——————————————————————————-
You can also read about the different navigation modes at:
Navigation

Also this information on 3dconnexion: